BlaceFX

 (click icons to download)
BlaceFX brings generative video directly into your After Effects composition.
Note: We are currently in public beta. This gives you an opportunity to experiment with the plugin while allowing us to further improve the stability of our server and billing infrastructure. The easiest way to share feedback directly with us is through our Discord server.
BlaceFX connects After Effects directly to cloud-hosted generative video models, eliminating manual exports, uploads, and downloads. The plugin automatically streams your frames to the cloud and returns the generated result directly to your composition as an uncompressed PNG sequence, without intermediate H.264 compression.
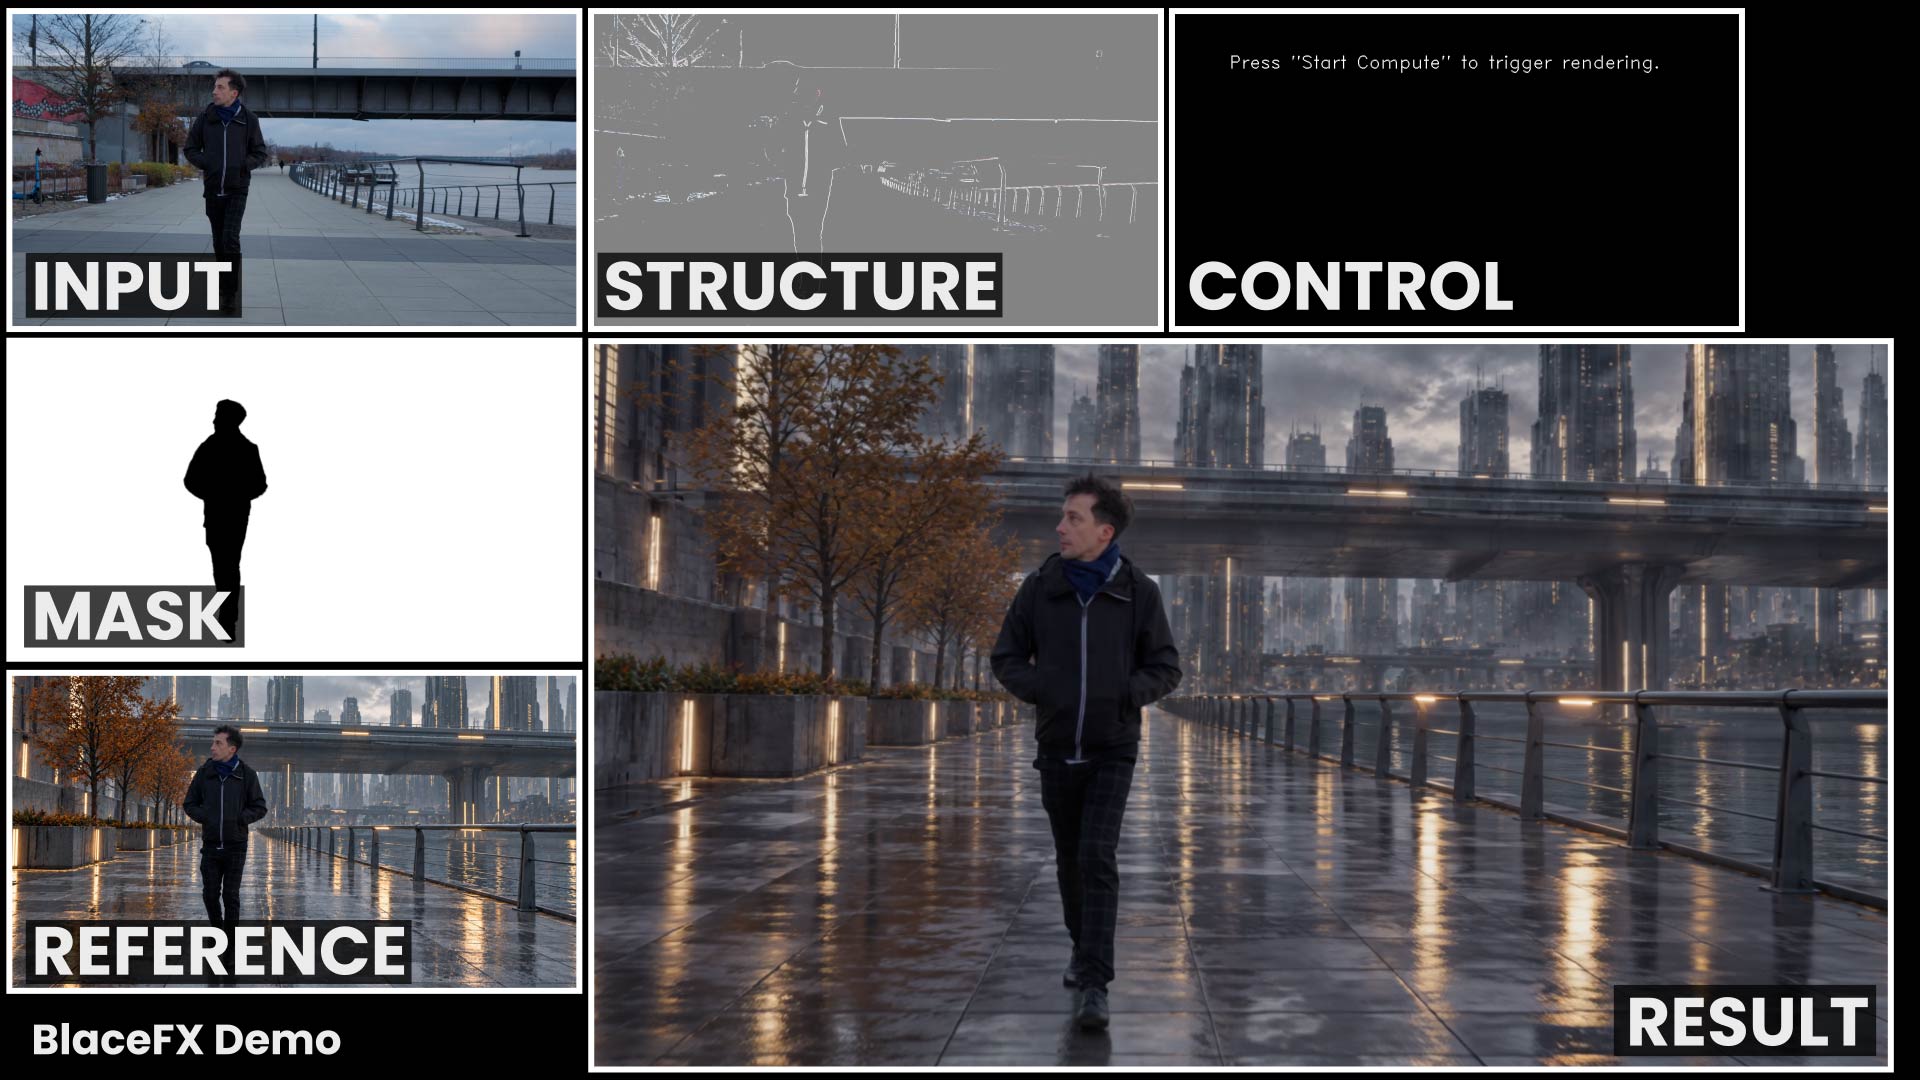
BlaceFX can use multiple inputs from your composition to guide the generation:
Source clip — the footage you want to transform
Reference image — guides appearance and visual identity
Mask — controls where the model should make changes
Structure clip — provides motion and structural guidance
Prompt — additional prompt to guide the generation
These inputs can be combined to handle a wide range of compositing, transformation, and generative video workflows without leaving After Effects.
A 5-second 720p generation takes approximately 3 minutes. Jobs run mostly in the background, so After Effects remains available and you can continue working while BlaceFX generates your result.
Runtime and Costs
BlaceFX is billed based on generated video duration and resolution. There are no machines to rent or cloud infrastructure to manage—you simply submit a generation and pay for the compute it uses.
This allows us to offer generative video directly inside After Effects at substantially lower rates than many comparable cloud-based video generation services.
Beta Notice: During our public beta, all generations will cost 20 credits, regardless of resolution or length. We will soon move to a more flexible billing model.
Prerequisites
A NVIDIA GPU with at least 12GB of VRAM or a Silicon Mac with 32GB RAM.
Prerequisites
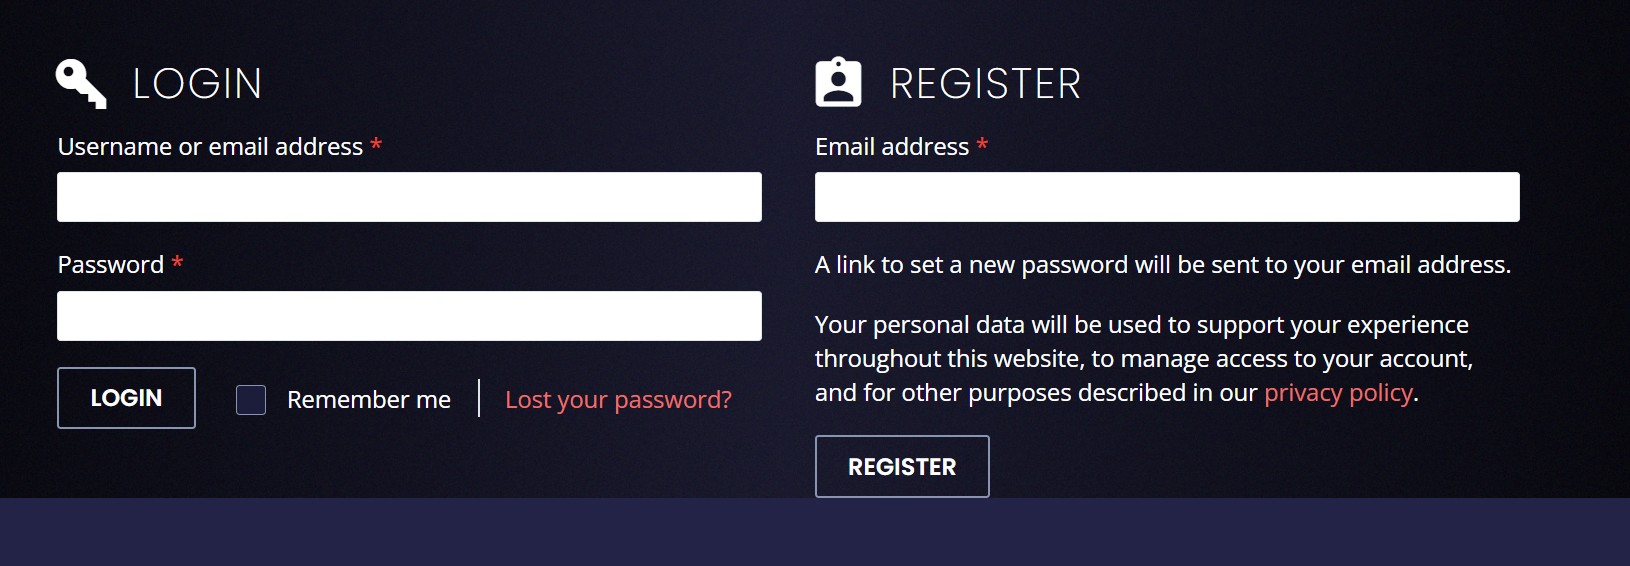
Create an account on our website.
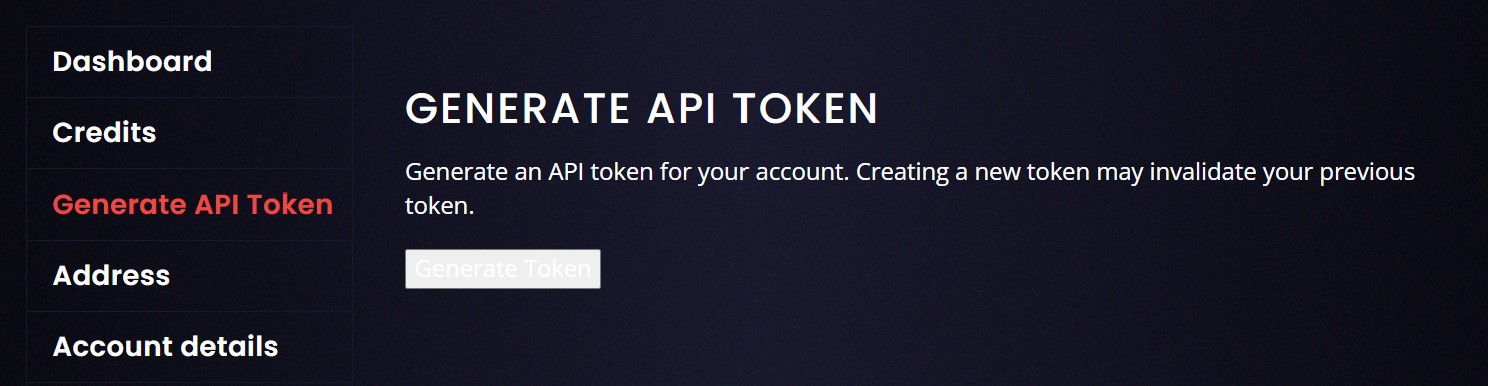
Generate an API key. Store it safely and don’t share it with third parties, as you will be billed for usage associated with this key. It can be revoked or refreshed at any time.
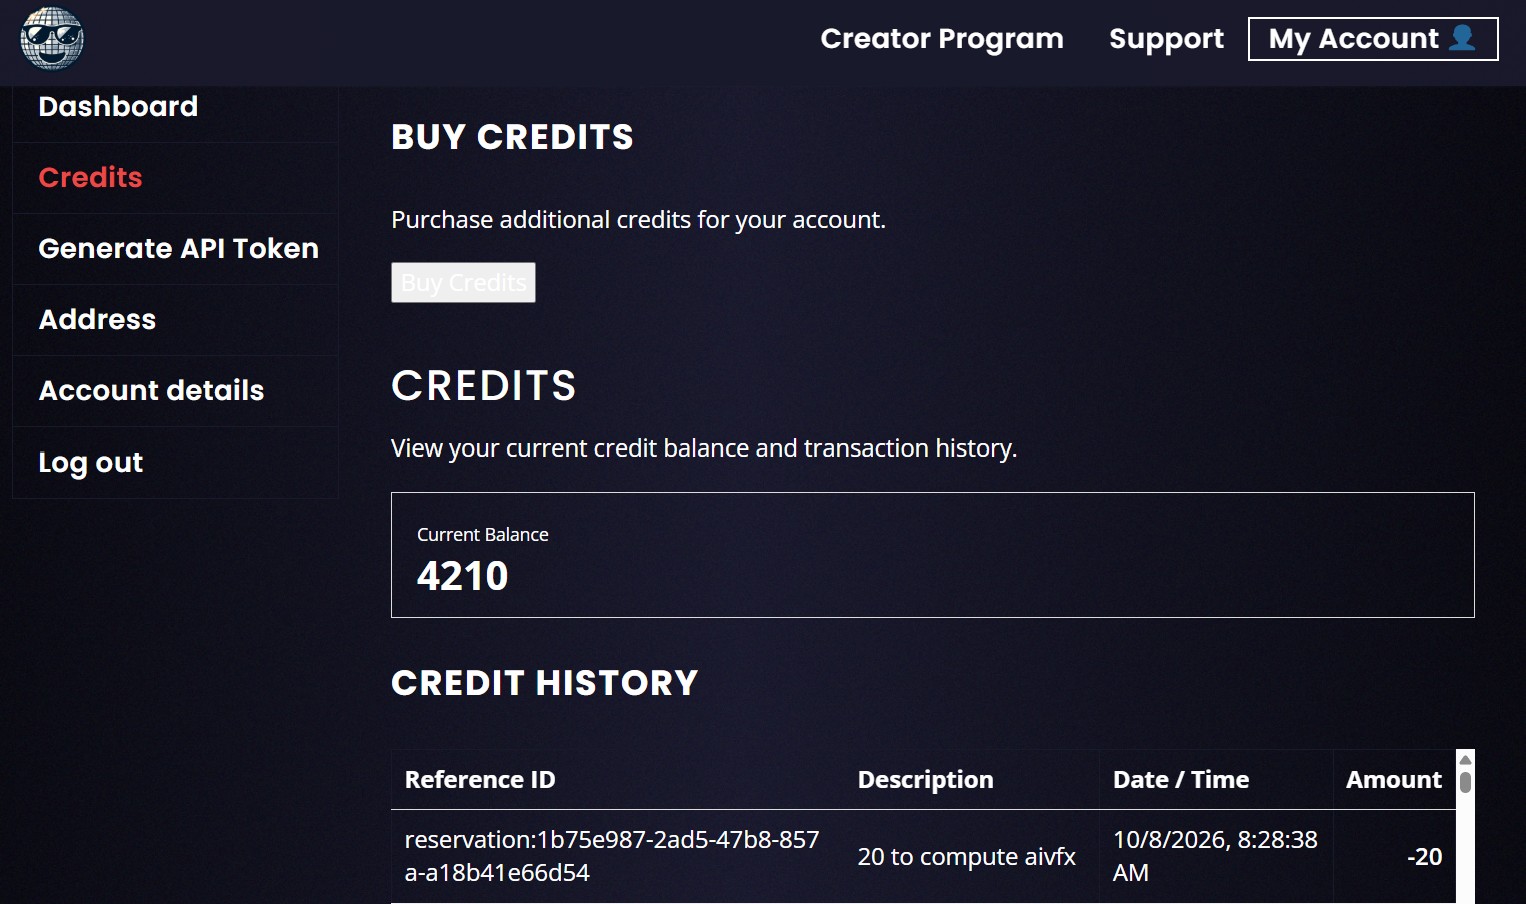
Buy credits. We use FastSpring as our payment provider, and you will receive a confirmation email from them as well. Afterwards, you should find an entry in your ledger.
Workflow
Please watch the introduction video for a quick overview:

The main ingredients of a generation are:
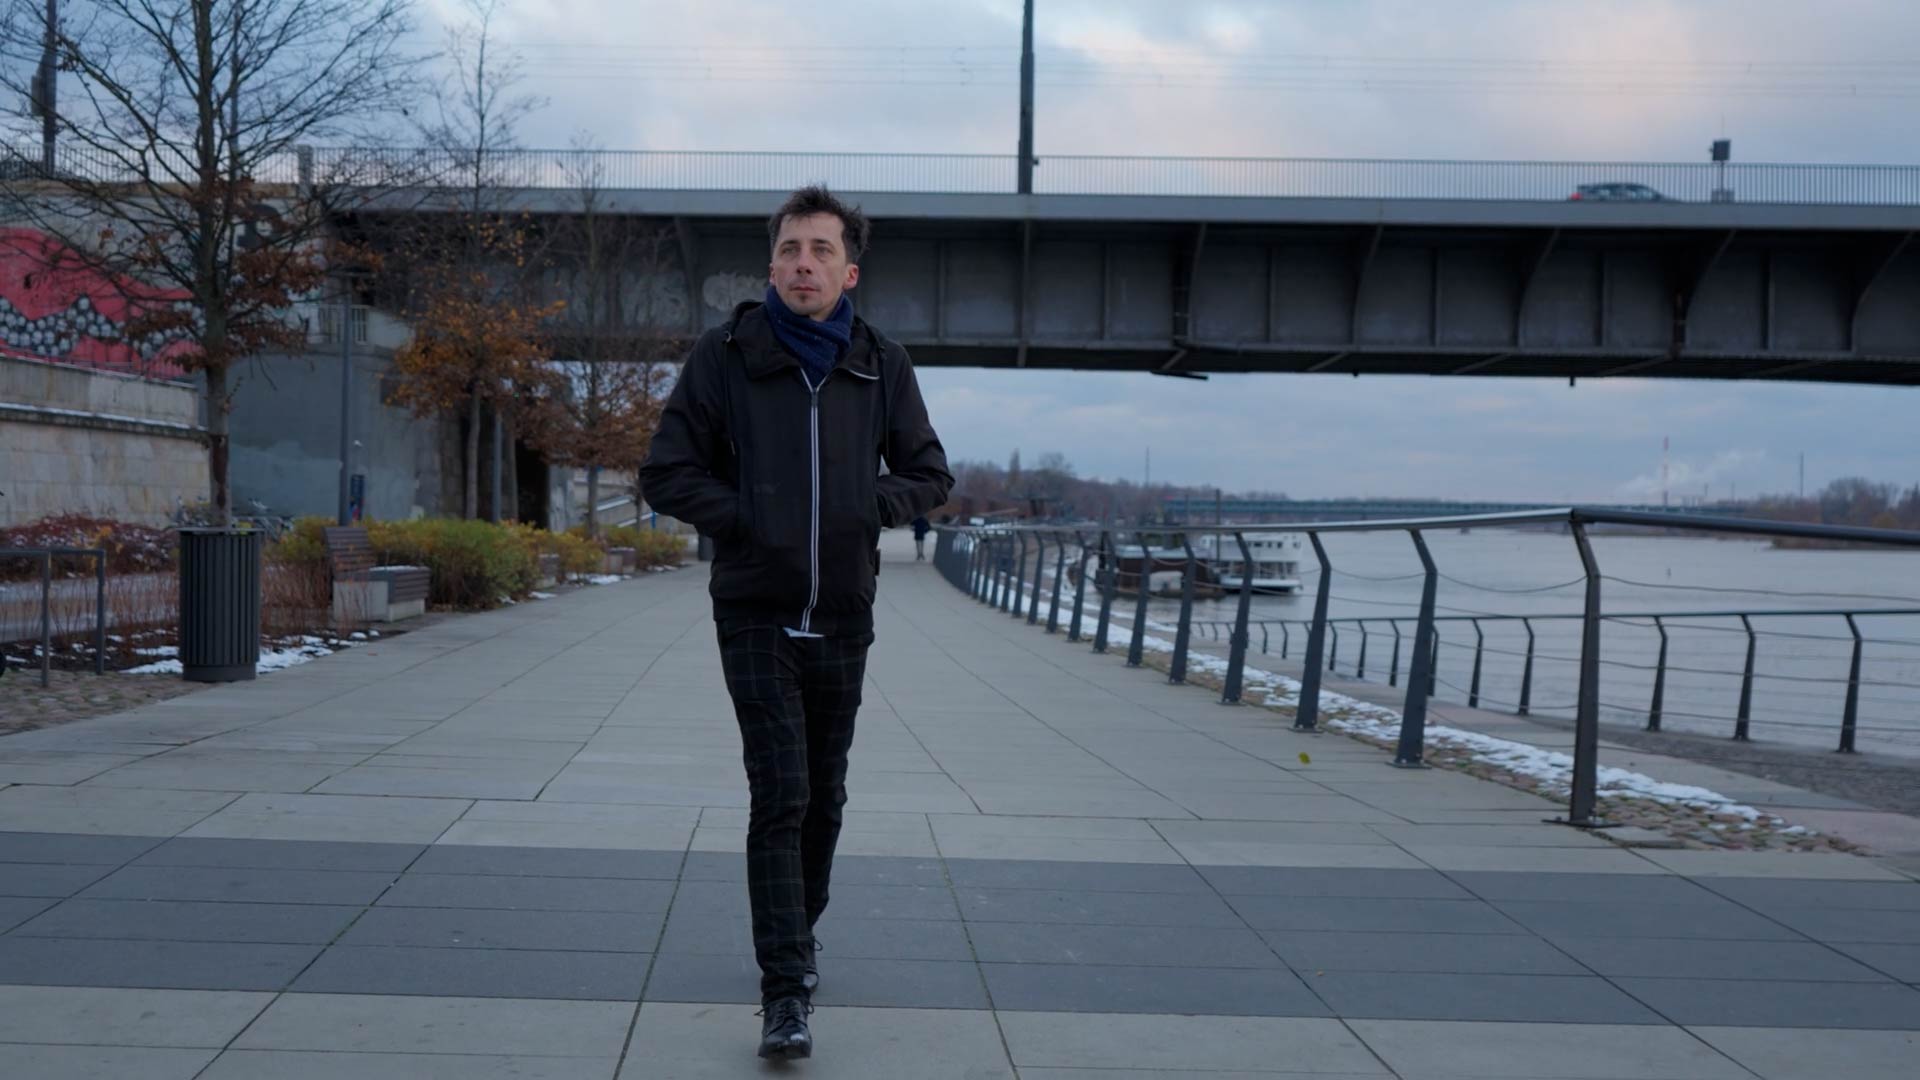
Source
The source clip you want to modify.
Mask
This tells the video model which parts to change. Black pixels are kept; white ones can be generated.

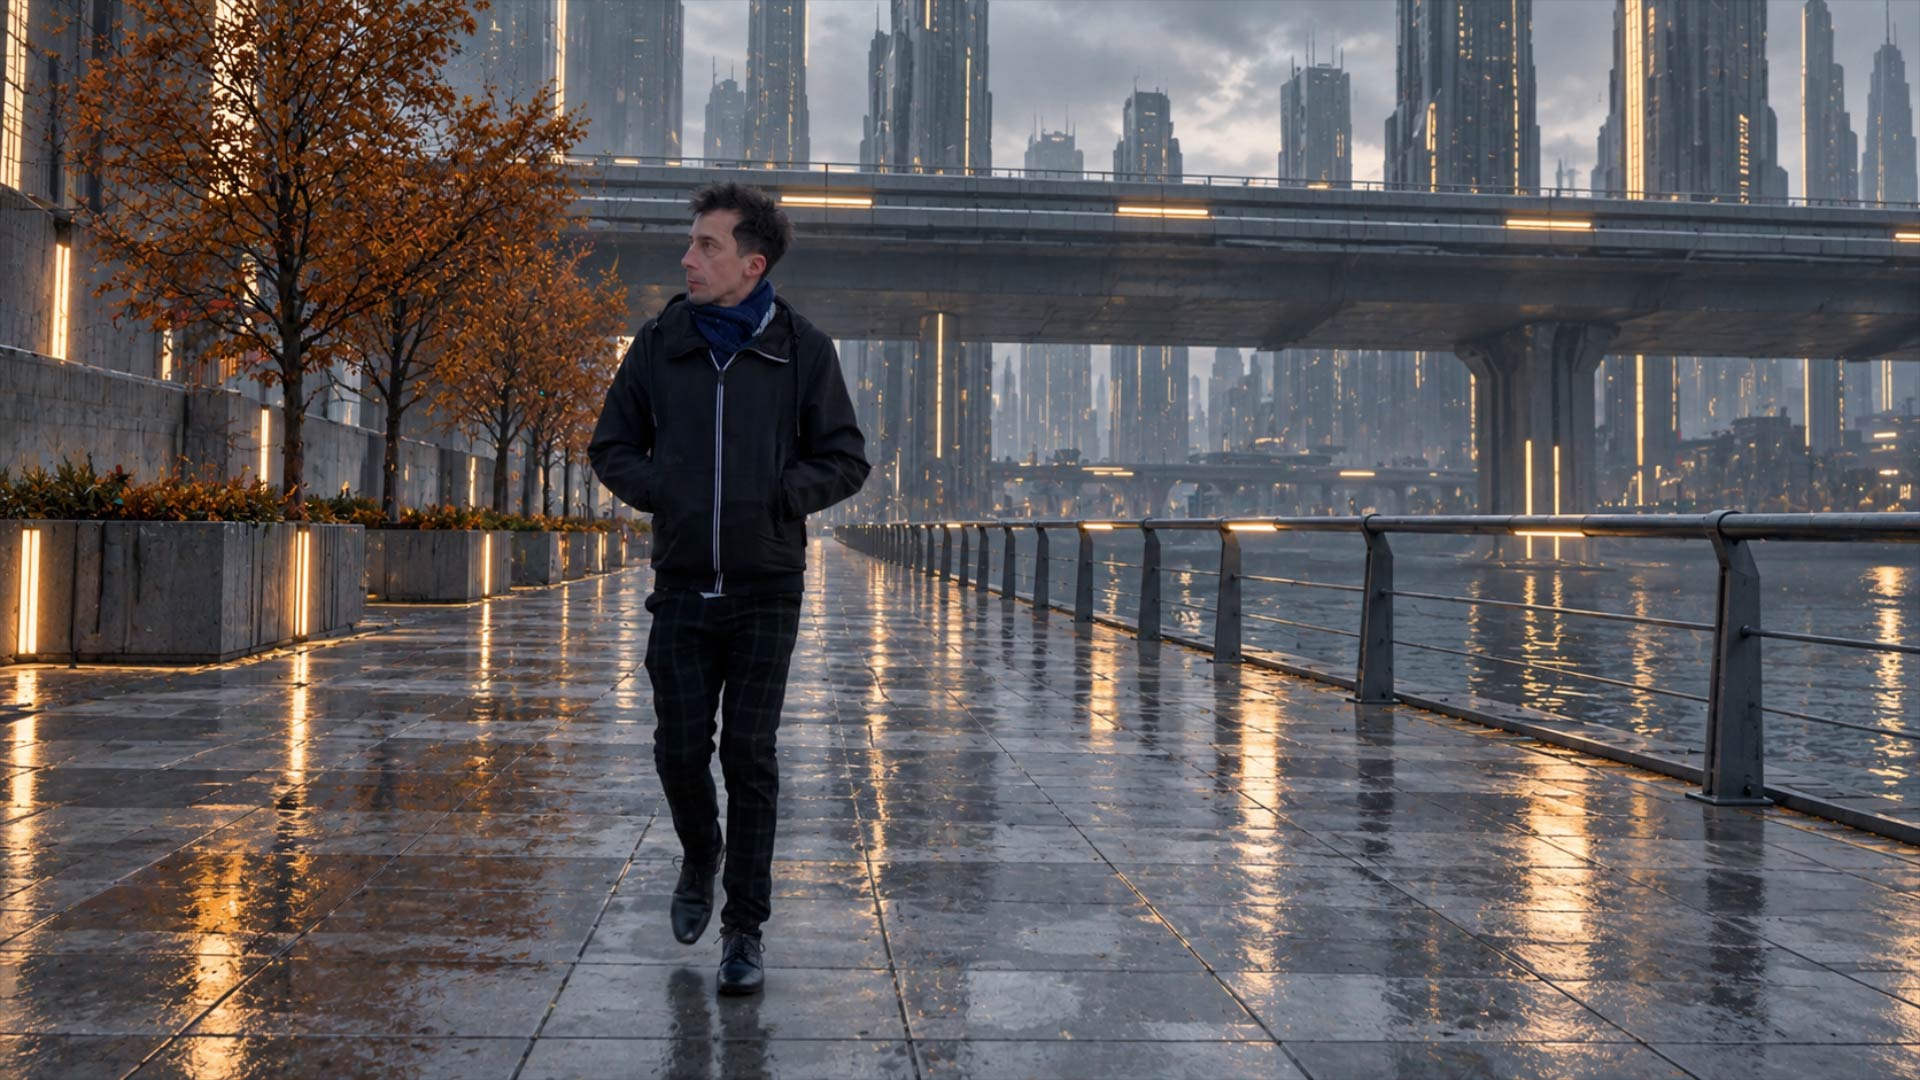
Reference
A visual reference to guide the generation. We’ve had good experiences creating these with third-party image models like ChatGPT or Nano Banana. Traditional workflows are fine as well.
Structure
Probably the most interesting input. This is visual guidance for the video generation model, giving it hints about the scene’s structure. It is recommended to keep the vast majority of the frame uniform and just add edges or similarly simple structures. This helps a lot with preserving motion.
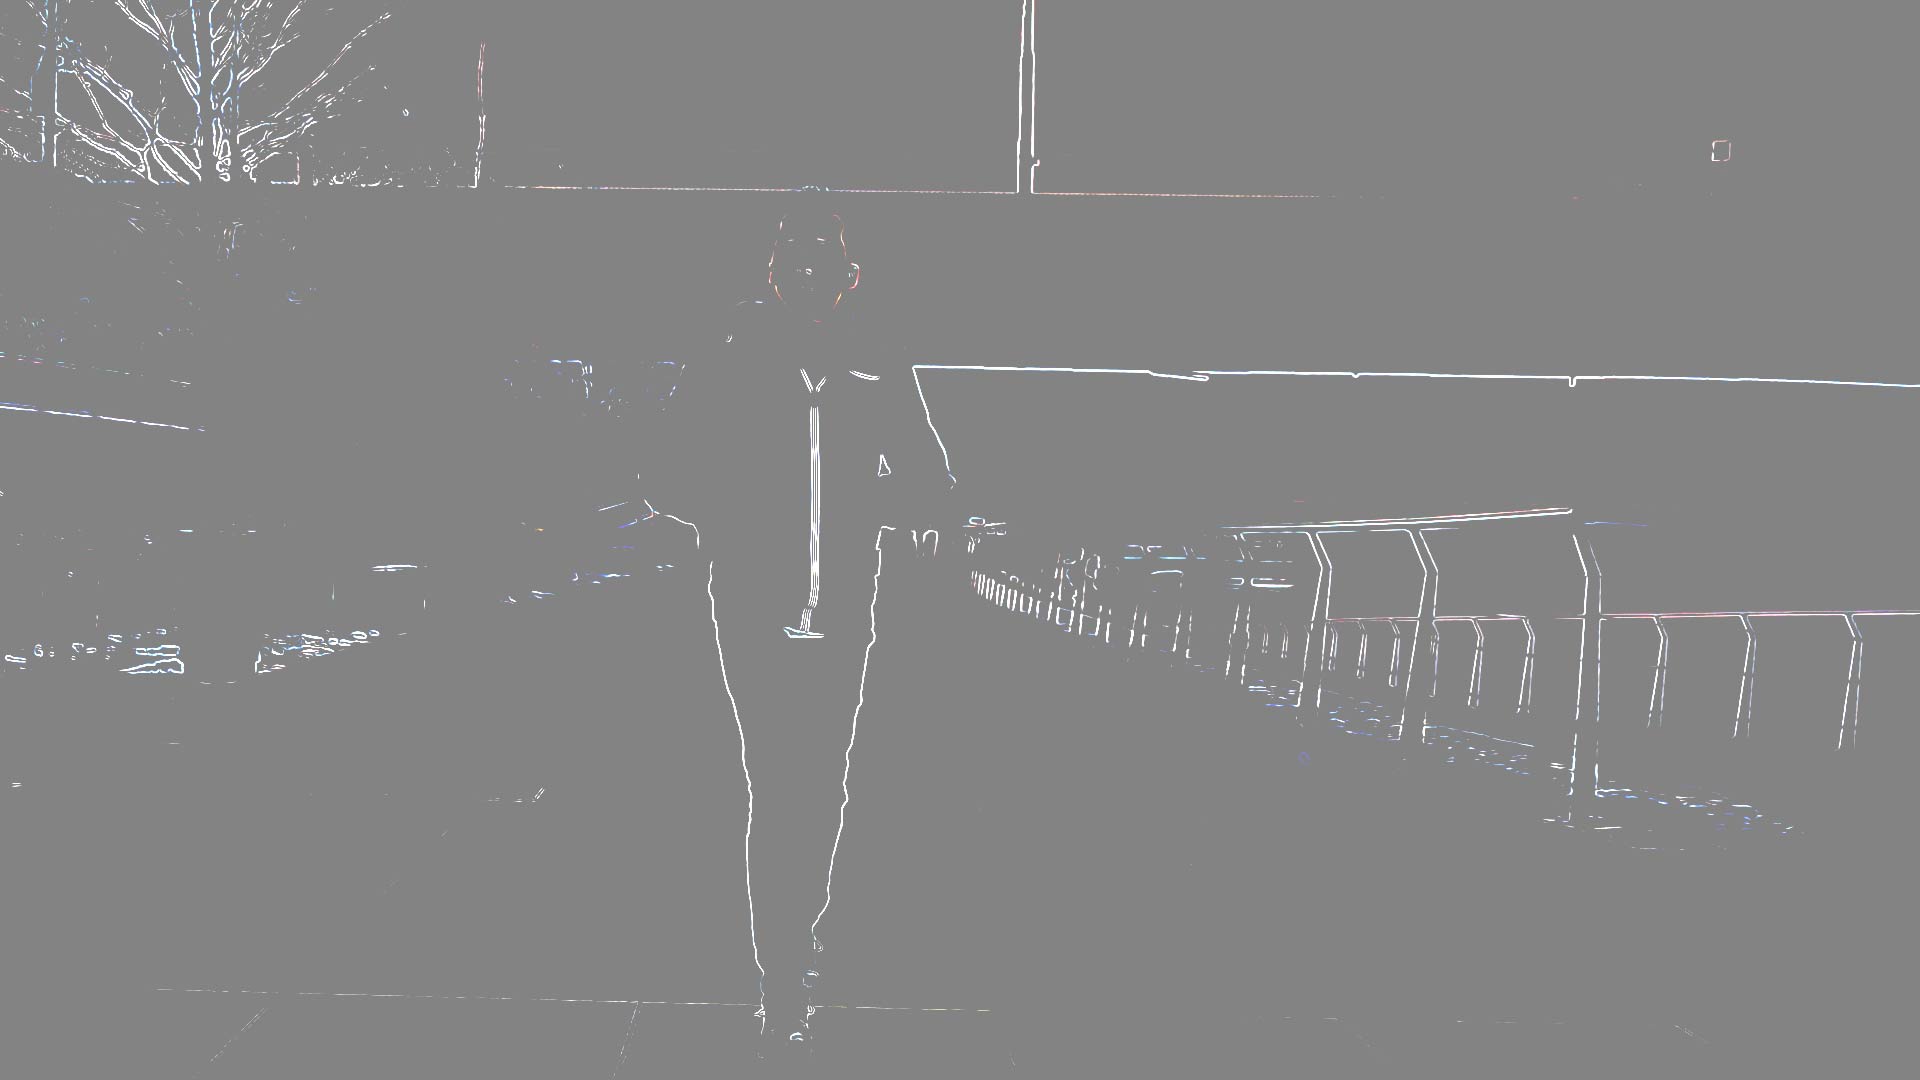
Edges on grey |
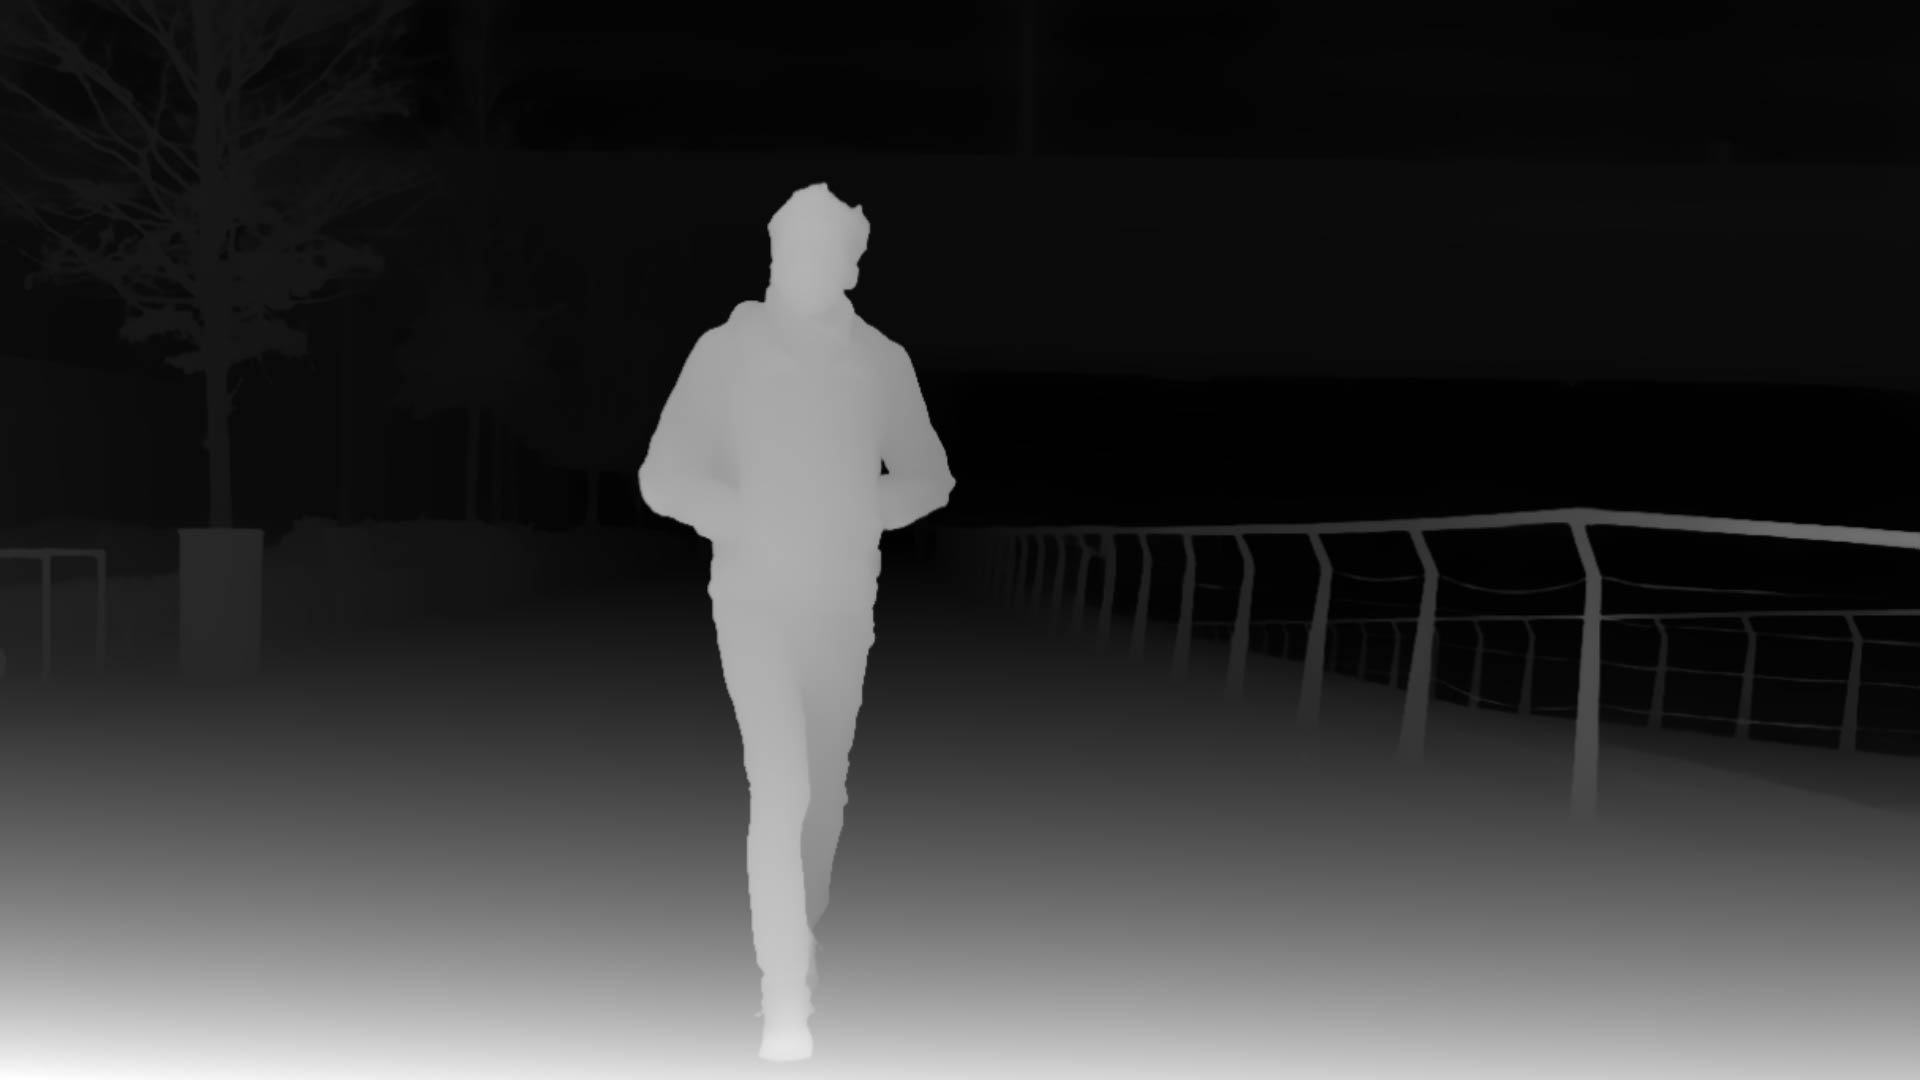
Depth Map |

Tracked points, can be of any shape |
Prompts
The Positive and Negative Prompt fields are used to further guide the generation. The positive prompt should always describe the scene in a few words and should not differ from what is shown in the reference image.
Parameters & Controls
Input Layers
Link the layers described above. There is an additional “Save Current Source Layer” button. When clicked, the current source layer frame will be saved as an image to <home>/Blace Plugins/BlaceFX/Saved Source Images.
Parameters
Prompt & Negative Prompt
The prompts described above.
Seed
Create variations by changing the seed value.
Resolution
Control the size of the output clip. This refers to the shorter dimension of the clip.
Control
This section is used to trigger the actual generation.
Output
Use this to quickly check the input layers of the effect. It has to be set to “Result” to start the generation.
Check State
Click this to update the UI with the current processing state. The state will be displayed both in the UI and in the layer frame. The states are:
Not Computed: Nothing has been computed so far, or the inputs have changed.
Encoding: The video footage is encoded locally to be sent to the servers. This runs on your GPU and takes ~30s for 5s of 720p video.
Queued: The job is queued and waiting to be picked up by a server. Ideally, you will never remain in this state for long (a few seconds at most). However, since we are just starting with this infrastructure, expect wait times of several minutes.
In Progress: The job is being processed on a server.
Decoding: The finished video has been received and is being unpacked.
Ready for Import: Decoding has finished. Press “Check State” once again, and the resulting clip will be added as a new layer to your composition.
Computed: Computation finished successfully.
Failed: An error occurred during execution. Please reach out to us with the log files.
Insufficient Credits: You don’t have enough credits left.
Invalid API Token Set: The token you entered is not valid.
Account
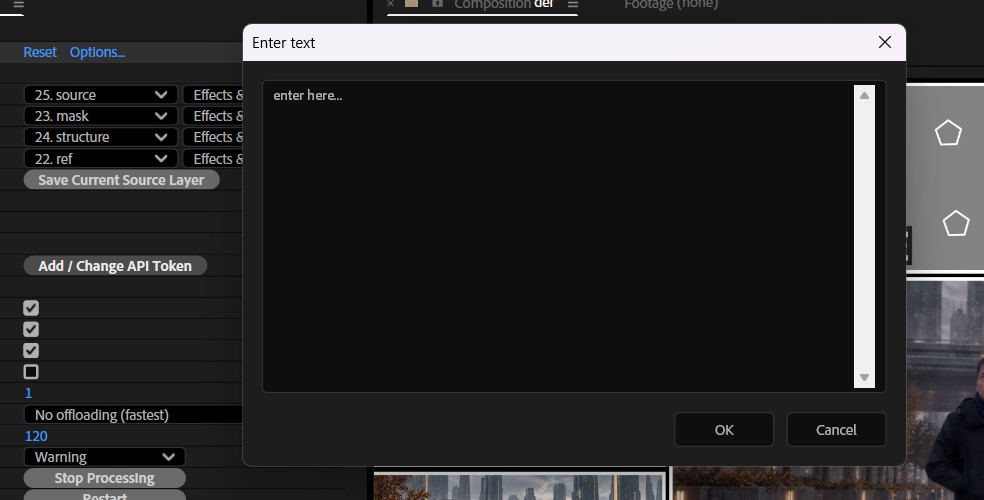
Add / Change API Token
Use the dialog to add your token. This will be stored machine-wide in a file at <home>/.blace/api_token.
Backend & Performance
Hardware Acceleration
Run calculations on the GPU. This will give massive speedups compared to CPU mode, especially on CUDA. On Windows with non-NVIDIA GPUs the speedup is still significant, but not all models are supported. Please check the product sites for notes about which models are supported.
Lower Precision
Compute with reduced precision if possible. This can save up to half of the memory and give you some speedups at the cost of sometimes slightly reduced quality.
Allow CPU Fallback
Run computation on the CPU if model cannot be executed on the GPU.
CUDA Memory Sharing (on CUDA machines only)
Try to keep frames data on the GPU for rendering. This is faster, especially on larger resolutions like 4k. Might not work on some NVIDIA driver versions (e.g. 476.x) so keep your drivers updated.
Model Offloading
Enabling this will make sure only the AI model parts which are needed for computation are kept on the GPU. This might lower VRAM usage under some settings at the cost of moving AI models in and out of GPU memory. Options are:
No offloading: Keep all models on the GPUs VRAM.
CPU: Move unneeded models to the RAM and back if needed. This will occupy RAM.
Full Unload: Completely unload models if not needed. This saves both VRAM and RAM but might be much slower, as the models have to be loaded again for every request.
Timeout
The maximum time a frame can be processed before the computation times out.
Samples (not available for all settings)
The number of ai samples to calculate. This will improve the models accuracy.
Parallel (only available if Samples > 2)
This will render all samples at the same time (faster), if disabled computation might be slower but require less VRAM.
Computation Tiles (not available for all settings)
Split the computation into several tiles. This can help if you run out of memory.
Stop Processing
Cancels a long-running frame computation immediately.
Restart
If a frame was canceled with “Stop Processing”, trigger a rerender.