Mask Prompter
Introduction
Mask Prompter is the 2023 way of creating mattes. It’s interactive and easy to use.

General workflow
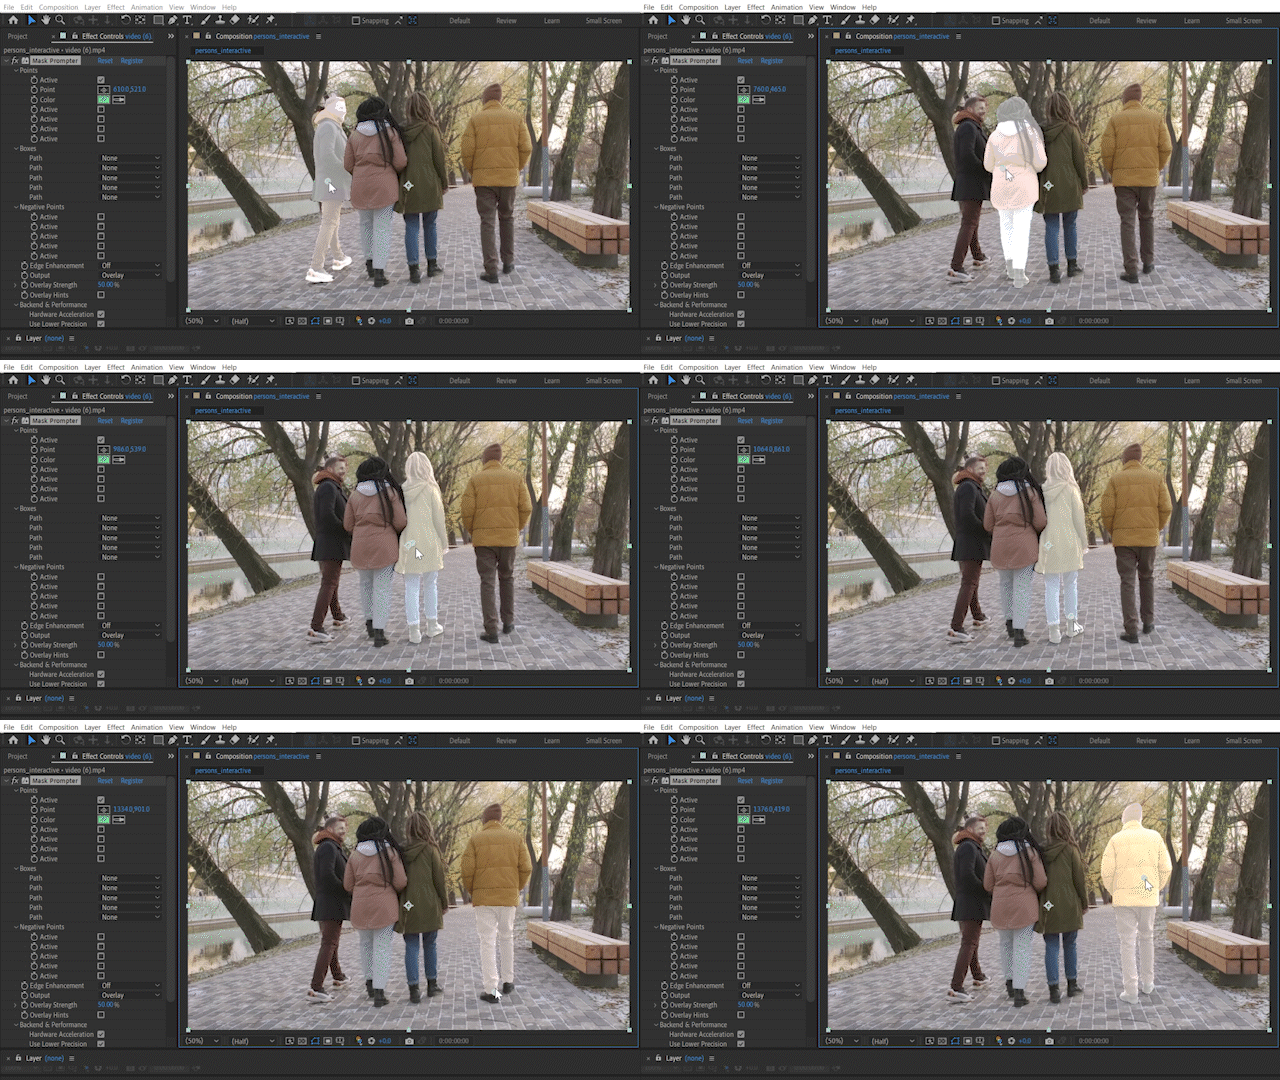
You create mattes by specifying so-called prompts for the current frame. Prompts can either be points or rectangle masks around an object.
Parameters
Points
Enable “Active” and specify the coordinates of the point. By keyframing the points position you can follow objects.
Boxes
Add rectangle masks to the layer and assign them to one of the five slots. This will create a matte for the object contained inside the rectangle.
Text Prompts
Describe the objects you want to mask by linking in masks and changing the masks name. To key e.g. a horse click “Add Text Input”, change the new masks name to “a horse” and link the mask layer in one of the five slots. Sometimes the prompting requires some trial and error. Attention: This mode is slow in cpu only mode.
Negative Points
Mark areas in the image you want to exclude from the masks.
Matte Refinement
Legacy is the old mode. Use HQ for the current state-of-the art model.
Filter Width
The width of the filter around the corners. Use small values to apply minor corrections and larger values if the edges have great variance (e.g. hair in the wind).
High Resolution
Run the edge refinement on a higher resolution (consumes more VRAM).
Output
“Overlay” draws the matte as white overlay on top of the image (set opacity with “Overlay Strenght”). “Matte” will output a simple black and white matte and “On Transparent” will give you the keyed object on alpha.
Overlay Hints
Draw colored rectangles for each prompt point. For text prompts we draw two yellow points, one in the upper left and another in the lower right corner of the detected object.
Tips & Tricks
If you use the “On Transparent” output the resulting matte can directly be postprocessed with After Effects internal effects like “Refine Soft Matte”.
Backend & Performance
Hardware Acceleration (on Silicon Macs and CUDA machines only)
Run calculations on the GPU. This will give massive speedups compared to CPU mode.
Lower Precision
Compute with reduced precision if possible. This can save up to half of the memory and give you some speedups at the cost of sometimes slightly reduced quality.
CUDA Memory Sharing (on CUDA machines only)
Try to keep frames data on the GPU for rendering. This is faster, especially on larger resolutions like 4k. Might not work on some NVIDIA driver versions (e.g. 476.x) so keep your drivers updated.
Model Offloading
Enabling this will make sure only the AI model parts which are needed for computation are kept on the GPU. This might lower VRAM usage under some settings at the cost of moving AI models in and out of GPU memory. Options are:
No offloading: Keep all models on the GPUs VRAM.
CPU: Move unneeded models to the RAM and back if needed. This will occupy RAM.
Full Unload: Completely unload models if not needed. This saves both VRAM and RAM but might be much slower, as the models have to be loaded again for every request.
Samples (not available for all settings)
The number of ai samples to calculate. This will improve the models accuracy.
Parallel (only available if Samples > 2)
This will render all samples at the same time (faster), if disabled computation might be slower but require less VRAM.
Computation Tiles (not available for all settings)
Split the computation into several tiles. This can help if you run out of memory.