Copy Face
Copy Face replaces a source face (called “source face” or “target face”) with a new face in a temporaly stable manner.
Requirements
Windows only currently
NVIDIA GPU (2xxx series or newer) with at least 10 to 12GB VRAM
Verification
In order to safeguard this technology, we introduce a face-verification system. All render results will have a small watermark on the new face. In order to get rid of this, please send the input image for the "New Face" parameter over to us (via aescripts ticket). We send you an unrestricted input image back (.cpf file). You don’t have to send your results, just the input image. If you have a video of Person A doing something and you want to put person B in this video, send us the image of person B.

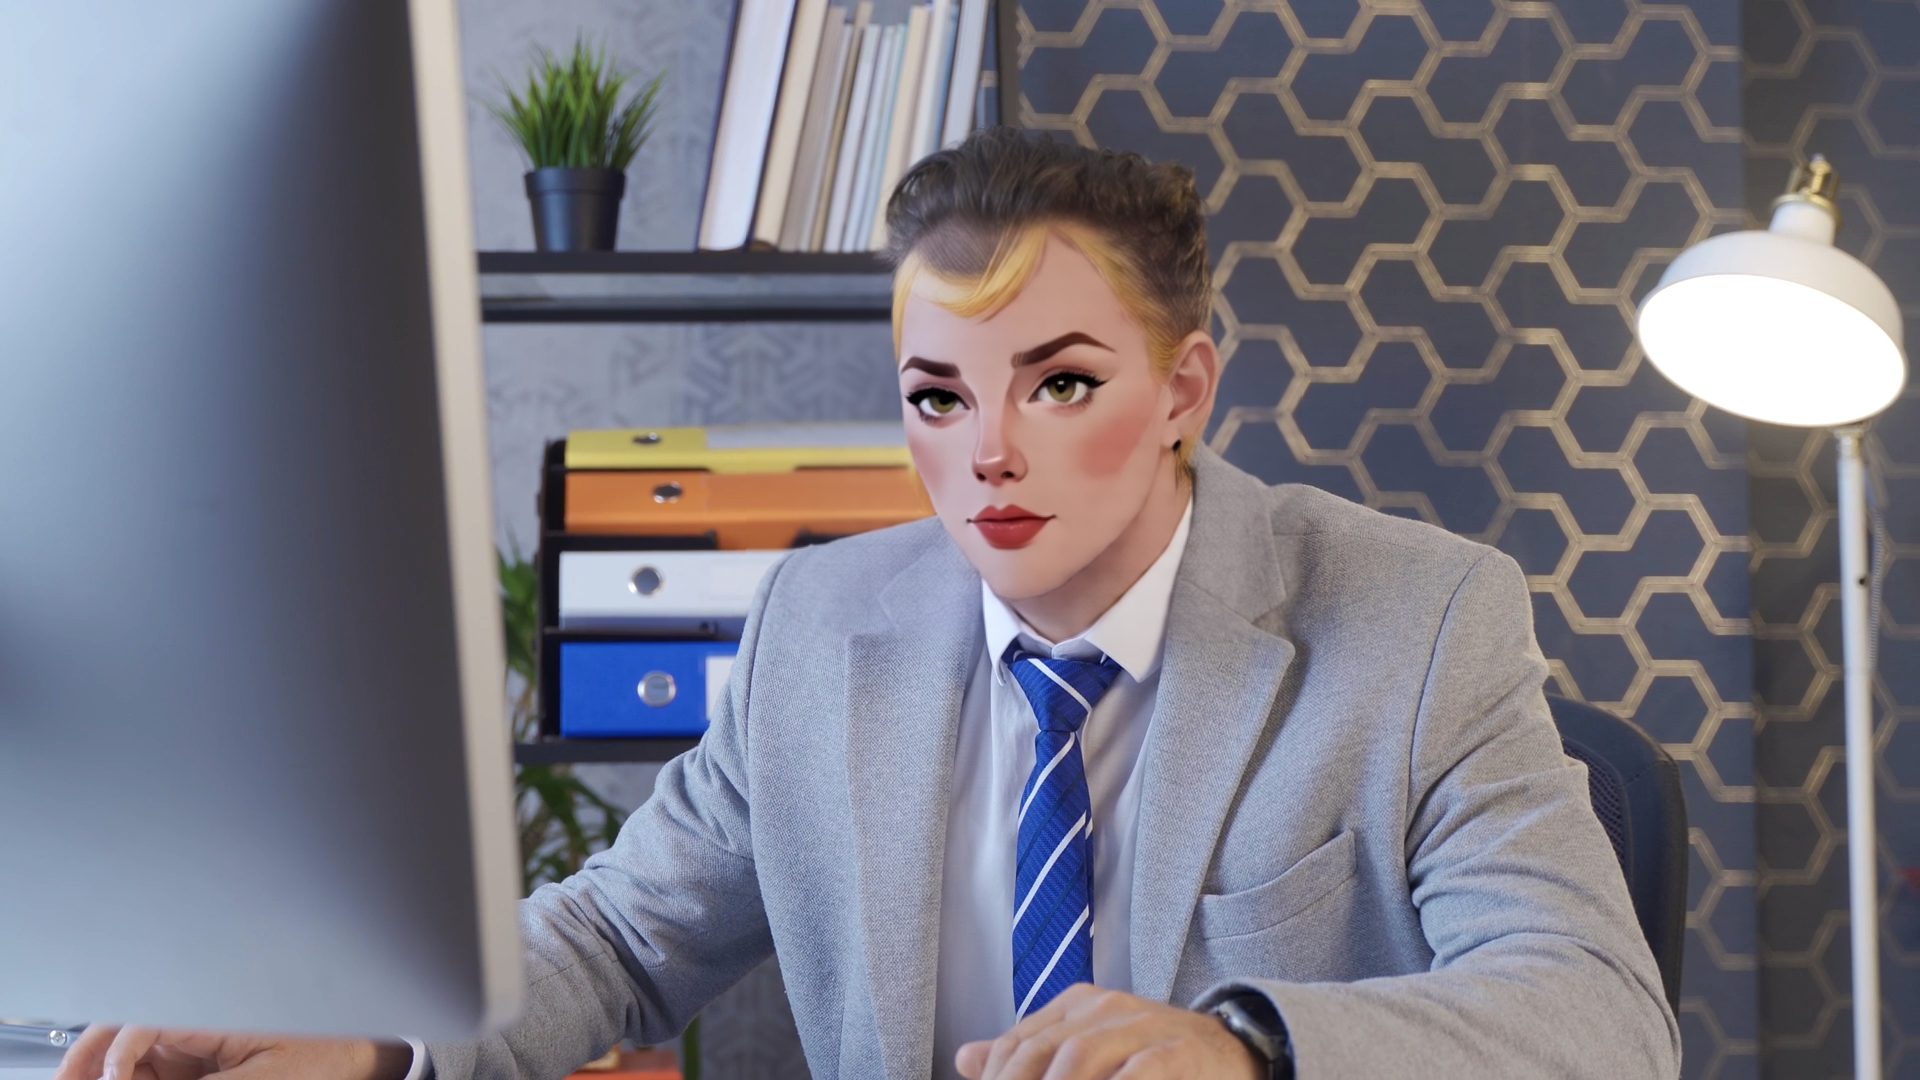
Output on image input.

Send us the input image and get a .cpf file back.
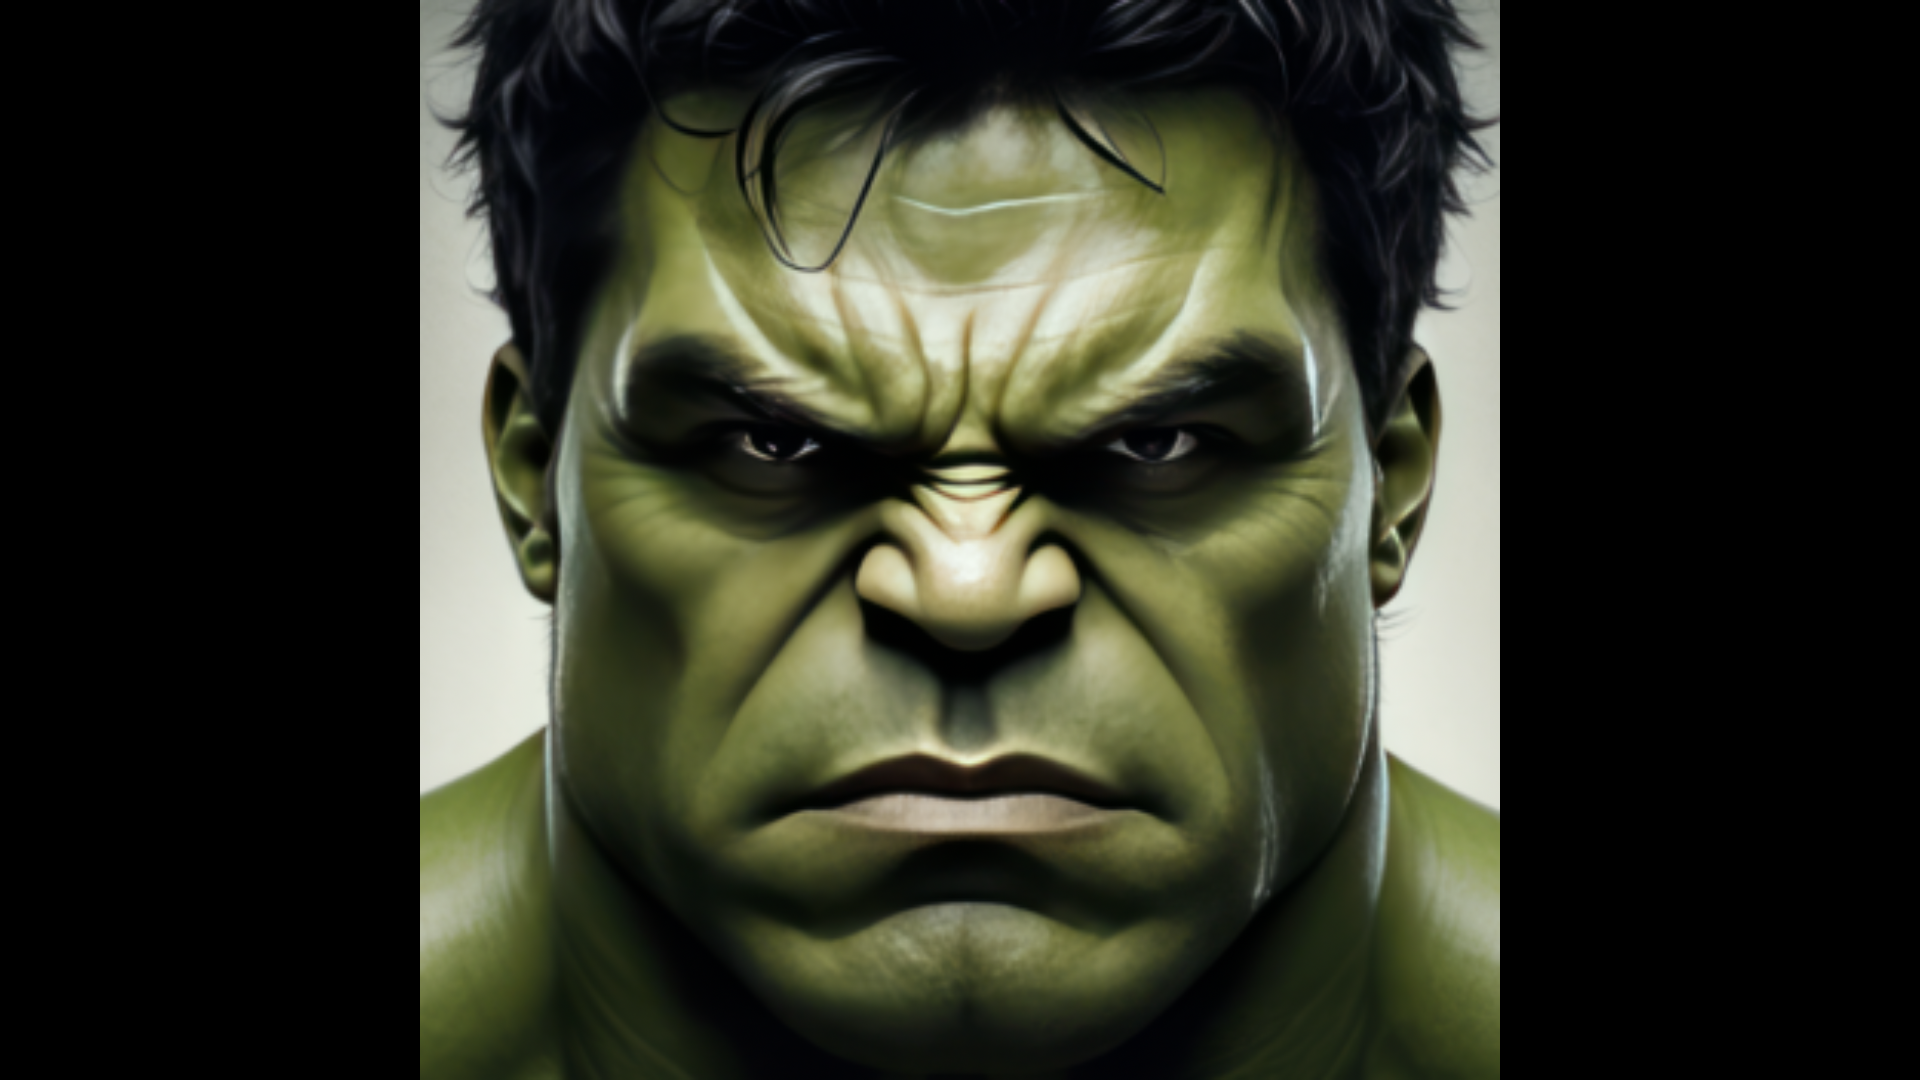
Output on .cpf input.
Workflow
Apply the effect to your footage. Make sure only one face is present in the clip, as Copy Face currently only supports single face processing (working on an extension already).
Choose another layer which contains the new face or use a text prompt to describe the new face. The new layer can either be an image or a .cpf file, in case you send it for verification. Faces created with text prompts don’t need verification.
Select “New Face” to verify that the new face is aligned properly, so it covers the whole frame. If the face is not aligned automatically, make sure the face is already centered in the selected layer.
We deploy two models: Instant and Style. Instant renders realistic faces quickly and Style excels at swapping of stylized characters. Instant is the default.
The Style model has two modes: In “One Frame Preview”, the source face is replaced with the new face frame-by-frame. This allow for quick preview and tweaking of settings, but is not temporaly stable. Choose “Full Sequence” to process multiple frames together. The plugin works on ~50 frames at once, so for the first frame and then every ~50 frames the computation is longer (up to 1 or 2 minutes). All frames in between are rendered very quick. Note: The visual output of “One Frame Preview” and “Full Sequence” will be slightly different. If you want to cancel “Full Sequence” processing, click “Stop Processing”.
Parameters
Mode
Use “One Frame Preview” for quick feedback and “Full Sequence” to trigger rendering of multiple frames. “New Face” shows the cropped new face and “Mask” the black / white matte used for blending.
New Face Input
Choose between “Layer” or “Text Prompt”.
New Face Strength (Instant Model)
Modify the size of the new face.
Quality (Style Model)
Number of iterations the AI model will process the individual frames for temporal alignment.
Resolution (Style Model)
Resolution the AI works on.
New Face Strength (Style Model)
The higher this value the stronger the influence of the new face on the result.
Align With Old Face (Style Model)
Aligns the result with the head pose and facial expression of the source face.
Mask Dilation & Mask Blur
Tweak the matte that is used for blending of the new face.
Backend & Performance
Hardware Acceleration
Run calculations on the GPU. This will give massive speedups compared to CPU mode, especially on CUDA. On Windows with non-NVIDIA GPUs the speedup is still significant, but not all models are supported. Please check the product sites for notes about which models are supported.
Lower Precision
Compute with reduced precision if possible. This can save up to half of the memory and give you some speedups at the cost of sometimes slightly reduced quality.
Allow CPU Fallback
Run computation on the CPU if model cannot be executed on the GPU.
CUDA Memory Sharing (on CUDA machines only)
Try to keep frames data on the GPU for rendering. This is faster, especially on larger resolutions like 4k. Might not work on some NVIDIA driver versions (e.g. 476.x) so keep your drivers updated.
Model Offloading
Enabling this will make sure only the AI model parts which are needed for computation are kept on the GPU. This might lower VRAM usage under some settings at the cost of moving AI models in and out of GPU memory. Options are:
No offloading: Keep all models on the GPUs VRAM.
CPU: Move unneeded models to the RAM and back if needed. This will occupy RAM.
Full Unload: Completely unload models if not needed. This saves both VRAM and RAM but might be much slower, as the models have to be loaded again for every request.
Timeout
The maximum time a frame can be processed before the computation times out.
Samples (not available for all settings)
The number of ai samples to calculate. This will improve the models accuracy.
Parallel (only available if Samples > 2)
This will render all samples at the same time (faster), if disabled computation might be slower but require less VRAM.
Computation Tiles (not available for all settings)
Split the computation into several tiles. This can help if you run out of memory.
Stop Processing
Cancels a long-running frame computation immediately.
Restart
If a frame was canceled with “Stop Processing”, trigger a rerender.