Neural Warp
Introduction
Neural Warp is a completely new method to warp elements according to the motion of another layer. No manual tracking is needed.

Workflow Instant Mode
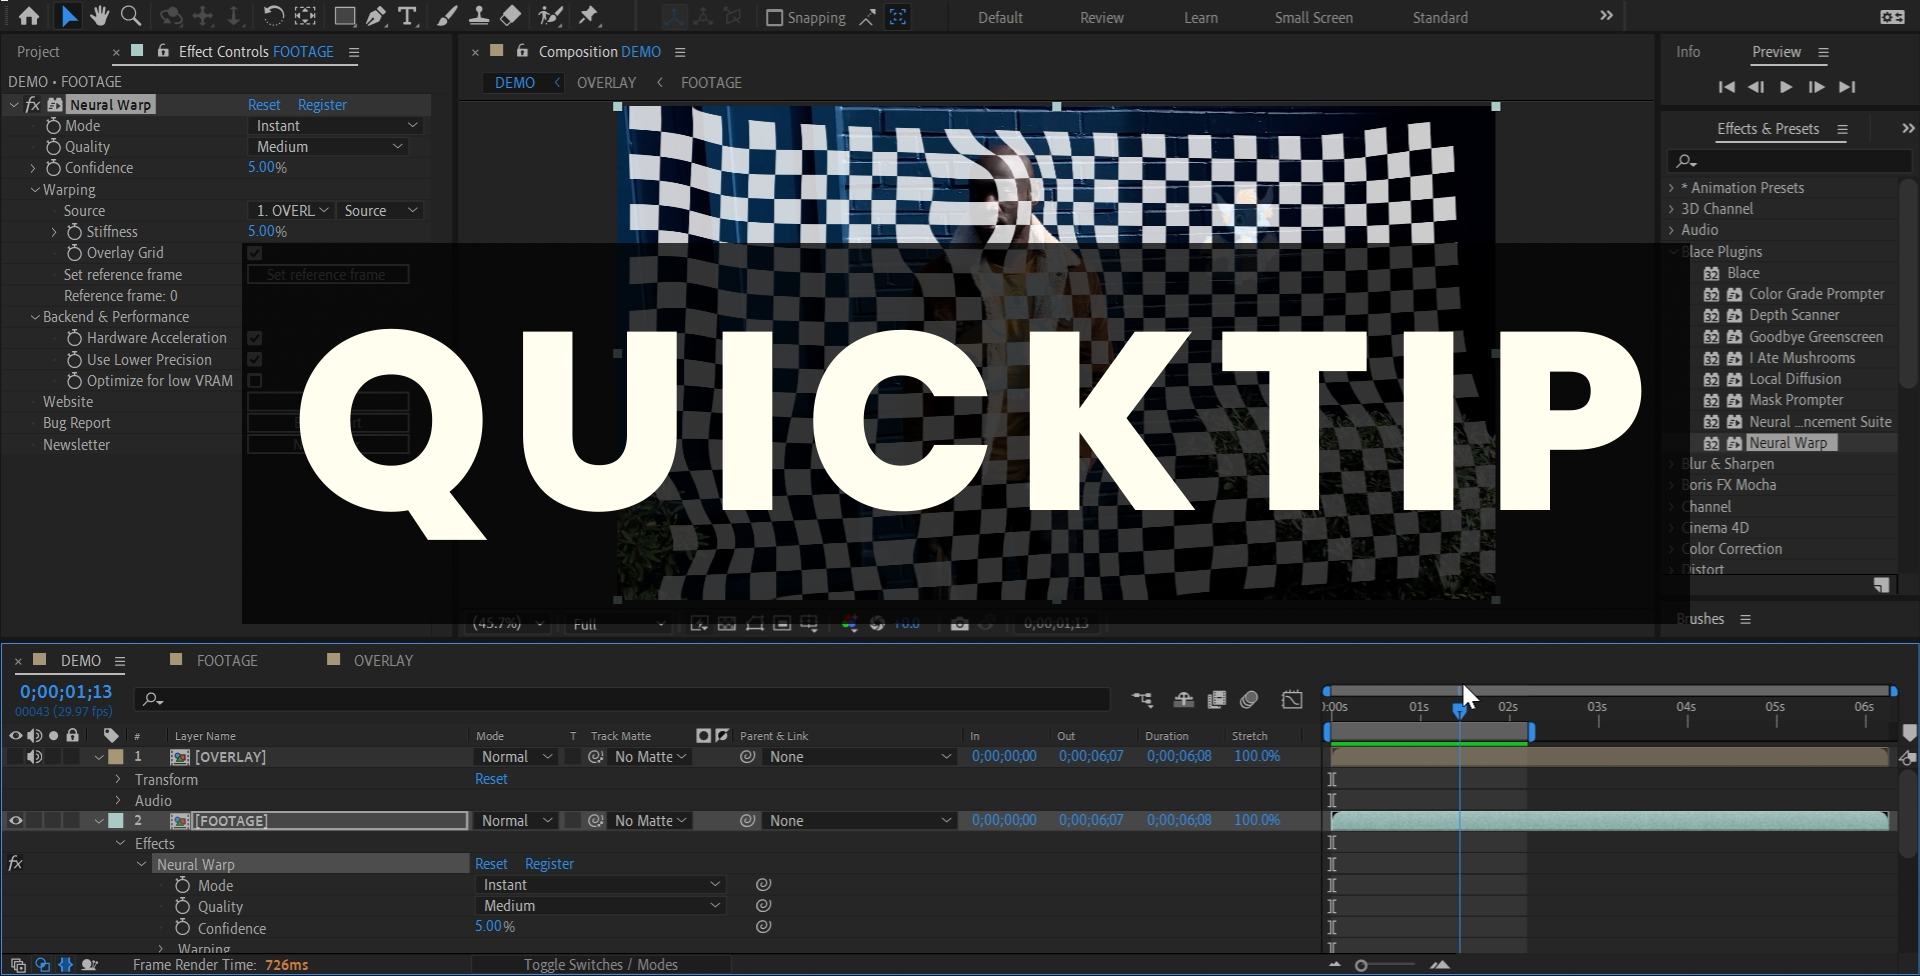
This is our new workflow which doesn’t require any precomputation. You can directly warp from your reference frame to your target frame. Click image below to watch short visual introduction:
Instant Parameters
Quality
The higher the quality the finer details will be matched between current and reference frame.
Details
The higher this value the more features will be used for the final warp estimation.
Confidence
Will only use matches that are at least as similar as this value.
Workflow Precomputation Mode
The workflow consists of two parts. In the first step the footage is analyzed an the warping data is computed. This may take some time but requires no interaction. In the second step you can place and manipulate the footage you want to warp. So:
Load footage and cut the layer to the frame range you want to process. The plugin will always run precomputation on the full lenght of the layer. We recommend to start with a short time span of a few seconds to get fast feedback. If you change the layers content, lenght or some settings the precomputation will become invalid and has to be run again.
Apply the plugin and set the settings in the Precompute menu. We tried to find good defaults so you can start right away.
Click “Precompute”. You’ll see a progress bar in the effects UI.
Under Warping->Source select the layer you want to warp. Please note that the selected layer shouldn’t be bigger than the effect layer. If you want to warp multiple elements, put them in a precomp with the same size as the effects layer and link the precomp.
Press “Set reference Frame” to select the “neutral” frame. This is the frame on which your source layer will always be undistorted.
Tweak settings to your liking.
Caching
Everytime you run the precomputation a cache file will be saved to disk (unless you activate “Auto Update”). The files will be stored under C:\Users\<username>\AppData\Local\blace-plugins\neural-warp-cache (Windows) and
~/Library/Logs/blace-plugins/neural-warp-cache on MacOS. It will only be available to AE and media encoder renderings on the same machine. If you want to transfer the projects to another machine without recomputing
you have to transfer the cache files as well.
Precomputation Parameters
Iterations
The number of iterations run to refine the temporal warping details.
Consistency
A higher number will try to follow object over a longer timespan, being able to detect them even if occluded for some time. The higher this value the more VRAM is used.
Details
The level of details captured by the warping precomputation. A higher number will follow more fine-grained motion but may be much slower.
Parallel Compute
Tries to run high details computation in parallel. If you don’t have enough VRAM, disable.
Use High Details for Warping
If active, all detected details will be used for the final warping. Otherwise they are interpolated.
Auto Update
If active, the precomputation will be run EVERYTIME the effects layer changes instead of waiting for a manual trigger.
Warping
Fix borders
Warped pixels tend to accumulate at images borders. Use this to remove those pixels
Warping Resolution
The resolution of the internal warping operation. Usually the influence of this on the result is minor but you still can play around with it.
Smooth Warping
Smooths the resulting warp a bit.
Common Parameters
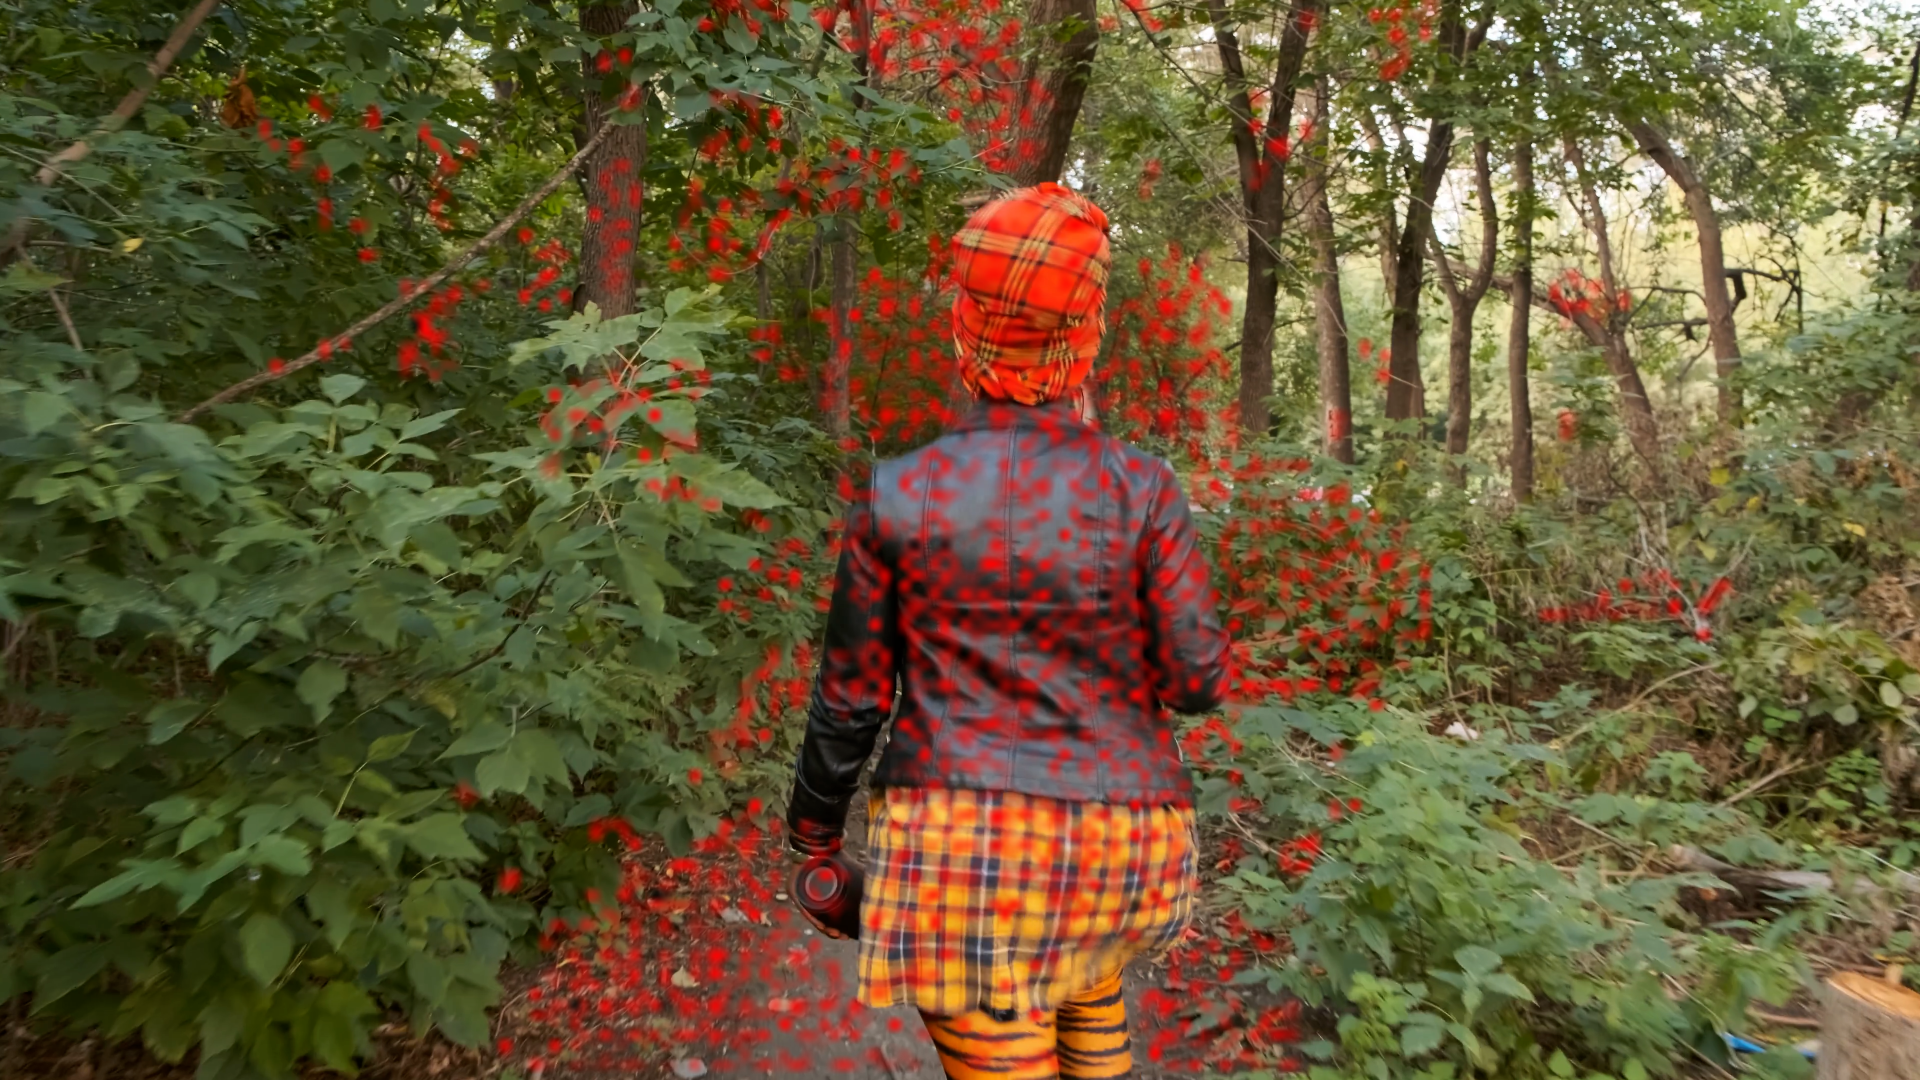
Draw Density
This will draw red point clouds corresponding to the quality of the warp you can expect from this area. In general you should place objects only in areas with high density.
Split into Tiles
This will reduce VRAM usage by running the final depth estimation on a tiled frame.
Overlay Grid
Displays a checkerboard on top of the layer. This allows you to check the warping on a full frame before placing your footage.

Set reference frame
If set, the current frame will be used as a reference and the source layer will be in neutral position here.
Source
The layer you want to warp according to the source. Needs to have the same resolution as the effect layer.
Stiffness
The higher this value the “stiffer” the resulting warp will be.
Backend & Performance
Hardware Acceleration (on GPU version of the plugin only)
Run calculations on the GPU. This will give massive speedups compared to CPU mode.
Lower Precision
Compute with reduced precision if possible. This can save up to half of the memory and give you some speedups.
Optimize for low VRAM
If you have not that much graphics card memory enabling this will try to optimize memory consumption.
Samples (not available for all settings)
The number of ai samples to calculate. This will improve the models accuracy.
Computation Tiles (not available for all settings)
Split the computation into several tiles. This can help if you run out of memory.